
This page describes a 24-card unofficial expansion to Gloom of Kilforth, containing one new skill per level for each of the four skill types, plus two skills per level available to all classes regardless of skill type, as well as a 25th title card.
The cards can be added in several different ways; our recommendation is:
Add the new skill cards with specific skill-types to the ones from the base game, giving heroes three options instead of just two for each level
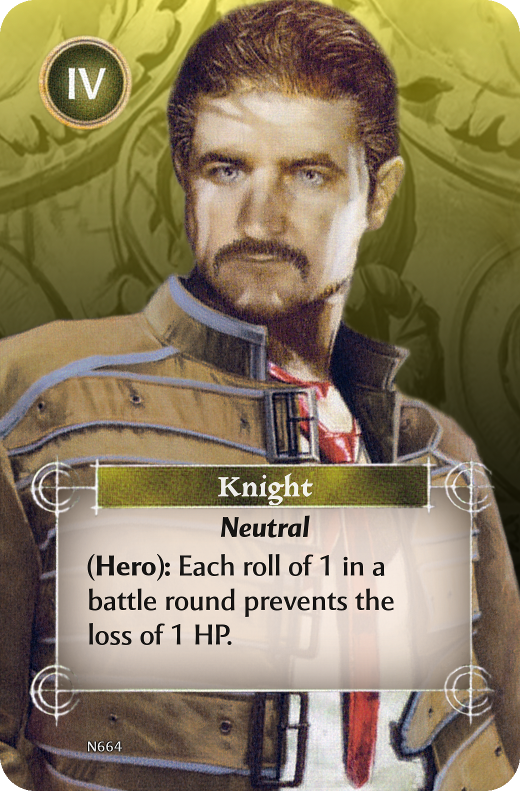
The “Neutral” skills are placed beside the map, and are available as additional options available to all heroes until chosen
The expansion is playtested, and found to be balanced, clear and fully compatible with both the base game and the official expansion.

The reuse of design elements and cardback art scanned from the base game cards for this noncommercial fan-expansion is approved by the game’s designer Tristan Hall (ninjadorg on boardgamegeek.com).
Original content is made by me, Tor Gjerde (gjerde on BGG), in cooperation with Chris Sundli (Koyaro on BGG). Owners of the game are allowed to make their own copies of the cards free of charge. Please do not republish the content without explicit permission.

The best way to make the cards is to have them printed by printerstudio.com (I have no affiliation with them, but have ordered cards of this type from them and am very pleased with the result). When I last checked, the price was USD 7.50 plus postage and minus any discount (various “coupon codes” are available at different times, but not all apply to cards).
It is easiest to just use the preassembled order, but if you want to modify it in any way (such as ordering a single deck with two copies of each card instead of two separate decks in order to save money), the following recipe would be the starting point:
Download all 25 front and 21 back designs to separate folders
Go to custom mini European playing cards at printerstudio.com
Reduce the deck size to Up to 32 cards and click the orange Personalize it button
Reduce the number of cards to 25 and click the blue different images button
Click the green upload images button, select the 25 card fronts and upload them
When the uploading is finished; click [Help me autofill images!]
Click the orange next step button to get to step 2 “Add Text To Front” and again to get to step 3 “Customize back”
Click on the blue different images button
Click the green upload images button, select the 21 cardback files and upload them
When the uploading is finished; click [Help me autofill images!]. When this has finished, drag a second copy of the last four cards to the last 4 slots.
Click the orange next step button to get to step 4 “Add Text To Back” and again to get to step 5 “Preview & Add to Cart”
Double check that all cards are paired with their appropriate cardback (skill-type and level)
Tick the box at the bottom confirming that you have the authorization to use the content and click the orange add to cart button
Complete checkout as instructed
The resulting quality is so close to the original cards that they can hardly be told apart during play.

A faster and cheaper alternative is to print and mount the cards yourself. Though it takes a bit more work, and you will not be able to match the quality of professionally printed cards, the result is quite serviceable, especially if the cards are sleeved.
Download the 5-page PDF file
Print one-sided without scaling on A4 or Letter size paper — using self adhesive label paper makes for easier mounting
Fold along the centerline to align the front and back designs, and paste half a sheet of stiff paper or thin cardboard between them (the thickness should be chosen so that the combined “sandwich” becomes sufficiently stiff while at the same time not too thick)
Use a snap-off blade knife and a ruler to cut out the cards according to the black guide lines; it is a good idea not to cut all the way to the edges so that the half-cut cards don’t start moving relatively to each other before you make the final cut
Run a fingernail or a plastic implement over all card edges to smooth the cut
Corners can be cut with a dedicated corner cutter, with ordinary scissors if you have a steady hand or left uncut (if you sleeve the cards, the difference is not that great)